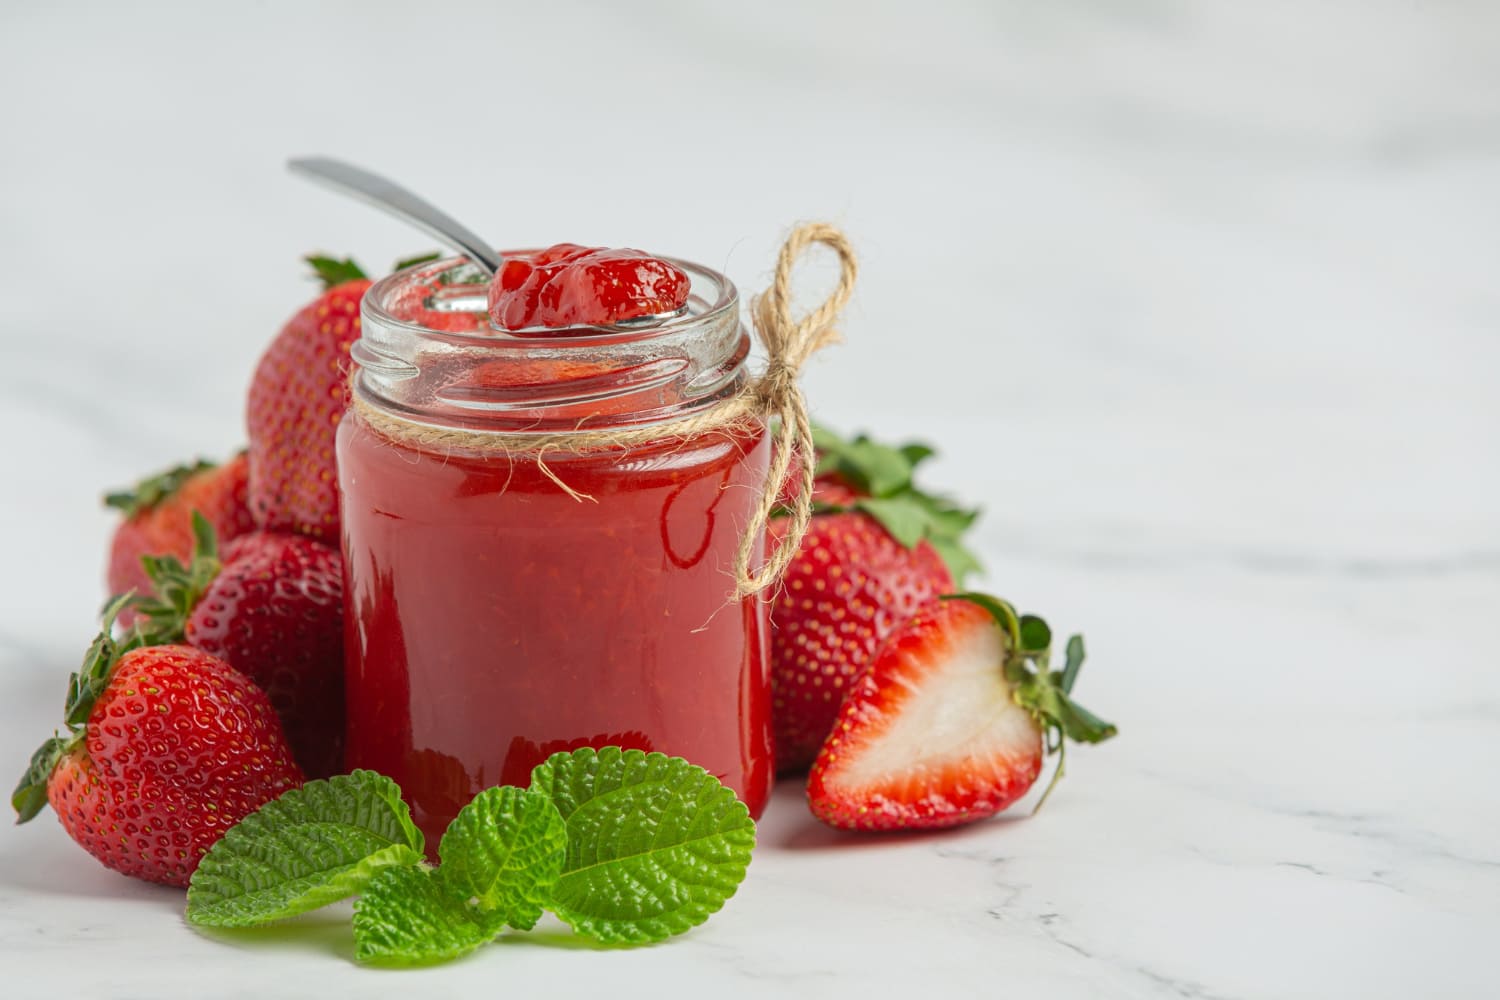
Jam-making is a timeless culinary craft, a delectable way to preserve the bounty of summer’s sweetness. Strawberry jam, with its vibrant color and irresistible flavor, is a classic favorite. Below, you’ll find an in-depth guide to creating your own homemade strawberry jam that captures the essence of fresh strawberries.
Selecting the Perfect Strawberries
The first step in making exceptional strawberry jam is choosing the right fruit. Opt for fresh, ripe, and sweet strawberries. They should be plump, deep red, and without any soft spots or bruises. The quality of the strawberries directly influences the flavor and texture of your jam.
Ingredients for Strawberry Jam
Before you begin, gather the following ingredients:
- 2 pounds of fresh strawberries, hulled and halved
- 4 cups of white sugar
- 1/4 cup lemon juice
- A pinch of salt (optional)
Equipment Needed
Ensure you have the necessary equipment:
- Large, heavy-bottomed pot
- Potato masher or a similar tool
- Sterilized jars and lids
- Funnel
- Ladle
- Jar lifter or tongs
Preparing the Fruit
Wash the strawberries thoroughly under cold running water. Remove the stems and any bruised or soft parts. Cut larger strawberries in half to ensure even cooking.
Cooking the Jam
In your pot, combine the strawberries, sugar, and lemon juice. The sugar not only sweetens the jam but also helps it set by drawing out the natural pectin in the fruit. The lemon juice balances the sweetness and aids in setting.
The Setting Point
Bring the mixture to a full rolling boil over high heat, stirring often. As the jam thickens, you’ll notice the bubbles becoming glossier and more viscous. To test if the jam has reached its setting point, place a small amount on a chilled plate. If it wrinkles when you push it with your finger, it’s ready.
Canning Process
Once the jam has reached the setting point, it’s time to can. Ladle the hot jam into sterilized jars using a funnel, leaving a 1/4 inch headspace. Wipe the rims clean, apply the lids, and tighten the bands.
Preserving the Jam
Process the filled jars in a boiling water bath for 10 minutes. Carefully remove the jars using a jar lifter and place them on a heat-resistant surface. Allow them to cool completely.
Labeling and Storing
After your jam has cooled and the lids have sealed (they will make a popping sound), label your jars with the date. Store them in a cool, dark place. Properly processed, your strawberry jam will last up to a year.
Serving Suggestions
Strawberry jam isn’t just for toast. It’s versatile and can be used as a filling for cakes, swirled into yogurt, or even as a glaze for meats. Get creative with how you use your homemade jam.
Conclusion
Making strawberry jam is a satisfying process that yields delicious results. With this comprehensive guide, you’ll be able to create a jam that is bursting with the flavor of fresh strawberries. Remember to use ripe, high-quality fruit and to follow the canning process carefully to ensure your jam is preserved safely.

